Posted in Gluten Free, Dairy Free, Sugar Free, Low Oxalate Pumpkin Pie, Holiday

Perfect Pumpkin Pie (gluten, dairy, sugar free)

Crust Ingredients:

  • Generous 1/2 cup Ghee
  • 2 large eggs
  • 1/4 tsp Redmond’s Real Salt
  • 3 TBSP Monkfruit Powdered Sugar or Swerve
  • 3/4 cup Coconut Flour

Instructions:

  • Mix the first four ingredients with a fork.
  • Add the coconut flour and mix in well.
  • Gather the dough into a ball.
  • Roll out onto parchment paper.
  • Line your 9 inch pie pan with the dough.
  • Bake at 400 Degrees for 5-7 minutes.
  • Let it cool before adding the pumpkin pie batter below.

Pumpkin Pie Batter Ingredients:

  • 15 ounces Pumpkin Puree
  • 1/2 cup Fat from Canned Coconut milk (previously chilled & full fat, not lite)
  • 2 large eggs
  • 2/3 cup Monk Fruit Powdered Sugar or Swerve
  • 2 tsp Pumpkin Pie Spice
  • 1/4 tsp Redmond’s Real Salt
  • 1 tsp Vanilla

Instructions:

  • Combine all ingredients.
  • Mix on low until smooth, but don’t over mix.
  • Pour the filling into the cooled crust.
  • Gently tap the vessel to remove air bubbles, you can pop them with your finger.
  • Bake about 35- 45 minutes, but check it about 28-30 minutes.
  • The center should be slightly jiggly, like jello, not fully set.
  • Remove pie. Completely cool on counter or fridge. Add whipped topping (below).

Whipped Topping Ingredients:

  • 1/2 cup chilled Canned Coconut Fat
  • 3 TBSP Monk Fruit Powdered Sugar
  • 1 tsp Vanilla

Directions:

  • Combine all ingredients into a medium bowl.
  • Mix with a hand mixer until stiff. It should just be a couple minutes.
  • Dollop onto pies, or put into a baggie, snip the corner, and decorate!

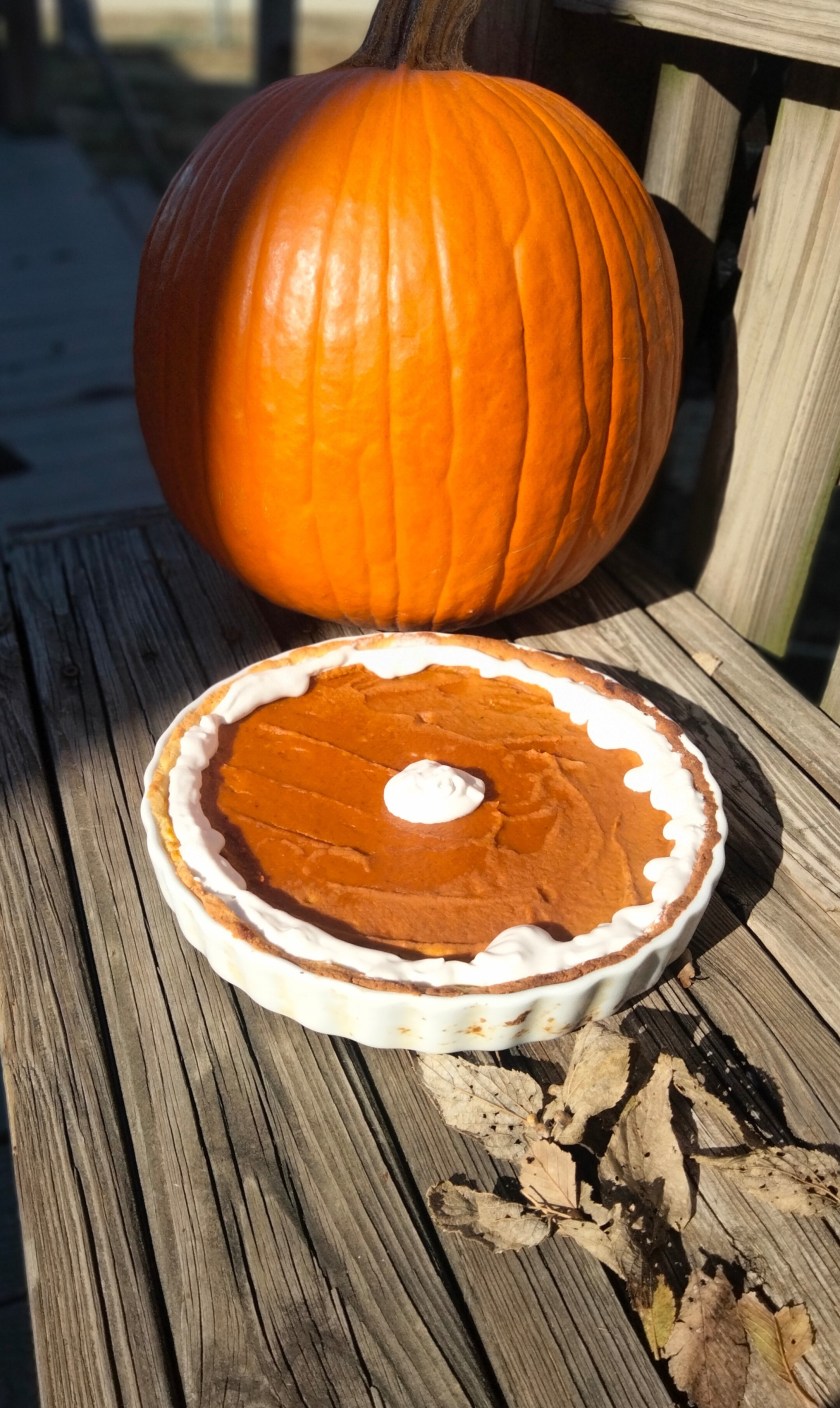
Dishing on this Dish: This delicious pie is low oxalate, gluten and dairy free as well as sugar free. The sugars used in this recipe do not affect the glycemic index. This crust can be used with savory dishes too, just omit the Monk Fruit Sugar. When using this crust for pies like pumpkin or apple, protect the crust with foil or purchased crust protectors. Just put them on after adding the filling but before putting back into the oven. Tips on the Canned Coconut Milk: I always keep a couple cans of full fat coconut milk in the back of the fridge. Store them here, upside down. Then when you need them, you just turn them right side back up and open with a can opener. Voila! your full fat is right on top and can be easily scooped out. You should have enough fat in one can for 2 pies, or 1 pie and the whipped topping recipe above.

Posted in Dairy Free, Egg Free, Gluten Free, Snacks, Soy Free

Oat Crackers

Ingredients:

  • 1 cup water
  • 1/2 tsp apple cider vinegar
  • 1/4 cup coconut oil
  • 1 tsp baking powder
  • 2 tsp pink Himalayan salt (or to taste)
  • 4 tsp nutrional yeast
  • a pinch of organic dandelion herb (optional)
  • 4 cups organic, gluten free oat flour

Instructions:

  1. Whisk the first three, wet ingredients in a large bowl
  2. Add in the baking powder, salt, yeast, dandelion and whisk them.
  3. Add the oat flour and stir with a large, metal spoon, until thick.
  4. Knead the dough into a nice, smooth little ball.
  5. Pull the ball into 4 equal parts. Since you’ll work with one ball at a time, keep the other balls covered.
  6. With a rolling pin, roll out one ball at a time between parchment paper. You want the dough to be very thin, like a cracker. Go for 1/16 of an inch.
  7. Using a round pizza cutter, cut the rolled dough both vertically and horizontally so that squares are about 1 x 1 inch. You can make them larger if you wish!
  8. I like to use a fork to quickly but gently puncture each cracker, encouraging even baking.
  9. Since your scored dough is already on parchment paper, simply move the whole thing – paper and cut dough – onto a nice big baking sheet. A professional 1/2 size pan is perfect.
  10. Bake at 350 Fahrenheit. Check the crackers at about 10 minutes. Ovens bake at varying times and I usually check mine at 13 and see that they need a little more time. But they should bake up with a nice, light color. The outsides will bake first, so you can easily remove these and then continue to bake the more centered ones, gradually removing them, getting closer to the center as they get baked.
  11. While your crackers are baking, you can roll out the next ball in the same manner.

What’s in the Cupboard: You can add other fresh herbs if you like, you may just need to add a bit of water to the recipe if you are adding a lot of extra dry ingredients. If you are fresh out of coconut oil, you can substitute olive oil although it changes the flavor to a more bitter cracker. You can also use ghee.

Dishing on this Dish:1. You can make oat flour using a food processor to grind up whole oats or steel cut oats. Grinding a few cups of oats first on low and then on high for a couple minutes each makes a really nice, soft, flour. If you spoon your flour from the processor into the measuring device you may find you need to add a couple more spoons to the recipe to be able to knead your ball. When you spoon it versus pouring it the measured amount is slightly less, so just add a bit more if your dough ball is too sticky to knead. 2. This recipe is low/no oxalate. If your looking for a cracker that is keto minded, click here.3. Crackers are really easy to make once you get all the kinks figured out. The biggest issues are rolling them thin enough. 1/16 – 2/16 of an inch is just right. They will bake quickly and crisply. Also baking them just right by removing outer squares while leaving the center ones to bake a little bit longer is key. It just takes a few times to get into your cracker baking ‘zone’. This recipe provides four dough balls so you’ll be an expert by the time you are done. This is enough crackers to snack for the day as well as having enough to box up in savvy bags and boxes for gifts or snack trays for parties. These crackers are thin yet hardy enough for topping with salsa, avocado, meats or cheeses. Air-tight containers will keep the crackers for several days.